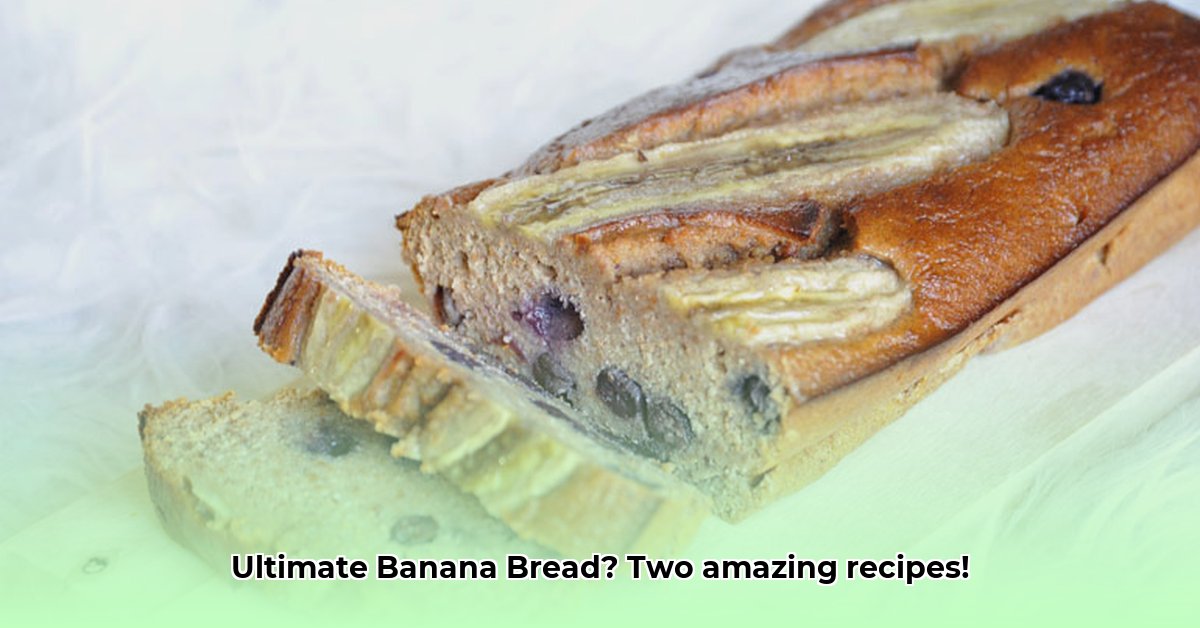
Eish, you're craving some lekker banana bread, are you? Then you've come to the right place! We've baked two totally different versions – one healthy, one decadent – and we're ready to share the secrets (and the delicious results!). This comparison will help you choose the perfect recipe for your taste buds, whether you're after a wholesome treat or a pure indulgence. Get ready to bake like a boss!
Bananenbrood Recept 1: Die Gesonde Keuse
This recipe is for the health-conscious among us. It's packed with wholesome goodness, using whole wheat flour, a light drizzle of plant-based oil (sunflower or canola works great), and just enough sweetener to highlight the bananas' natural sweetness. Plus, this loaf tends to last a bit longer – a bonus for those who don't want their baking to go to waste!
Instructions:
- Preheat your oven: Get that oven going to about 160°C (for a fancy convection oven) or 170°C (for a regular electric oven).
- Mash those bananas: Grab those overripe bananas (the riper, the better!), and mash them until smooth.
- Mix the dry ingredients: In a separate bowl, whisk together whole wheat flour, baking soda, baking powder, cinnamon, and salt.
- Combine wet and dry: Gently fold the wet ingredients (mashed bananas, oil, sweetener, eggs – or flax eggs if you're vegan) into the dry ingredients. Don't overmix! A few lumps are fine.
- Pour and bake: Pour the batter into a greased loaf pan and bake for about 50-60 minutes, or until a toothpick inserted into the centre comes out clean.
- Cool and enjoy: Let the bread cool in the pan for about 10 minutes before transferring it to a wire rack to cool completely.
Pros:
- Healthier ingredients for a less processed loaf.
- Lasts longer than the indulgent version.
- Simple and easy to make.
Cons:
- Slightly less intense flavour compared to Recipe 2.
- Texture might be slightly denser.
Bananenbrood Recept 2: Die Dekadente Verwennerij
This is banana bread for those days when you deserve a treat! It's all about rich, buttery flavour and maximum deliciousness. We're talking real butter, not a substitute, and don't be shy with the sugar – it's what makes this bread so moreish! This recipe is also super customisable – add chocolate chips, nuts, or a cinnamon swirl!
Instructions:
- Preheat: Set your oven to 180°C (for a standard electric oven).
- Prepare the bananas: If your bananas aren't ripe enough, pop them in the oven at a low temperature (around 100°C) for 10-15 minutes to soften them and intensify their sweetness.
- Cream butter and sugar: Cream together softened butter and sugar until light and fluffy.
- Add eggs and vanilla: Beat in the eggs one at a time, then stir in the vanilla extract.
- Mix the dry ingredients: In a separate bowl, whisk together all-purpose flour, baking soda, baking powder, and salt.
- Combine wet and dry: Gradually add the dry ingredients to the wet ingredients, mixing until just combined. Don't overmix!
- Fold in bananas and add-ins: Gently fold in the mashed bananas and any desired add-ins.
- Bake: Pour the batter into a greased loaf pan and bake for around 50-60 minutes, or until a wooden skewer inserted into the centre comes out clean.
- Cool and indulge: Let the bread cool in the pan for a few minutes before transferring it to a wire rack to cool completely.
Pros:
- Intense, rich flavour.
- Highly customisable.
- Handy tip for ripening bananas!
Cons:
- Less healthy due to higher fat and sugar content.
- Shorter shelf life.
Vergelyking van die Twee Resepte
Here's a quick comparison to help you choose:
| Feature | Recept 1: Die Gesonde Keuse | Recept 2: Die Dekadente Verwennerij |
|---|---|---|
| Flour | Whole wheat | All-purpose |
| Fat | Plant-based oil | Butter |
| Sweetener | Less sugar | More sugar |
| Add-ins | Minimal or optional | Highly customizable |
| Texture | Denser | Lighter, fluffier |
| Shelf Life | Longer | Shorter |
Wenke en Probleemoplossing
- Overripe bananas are key for maximum moisture and sweetness.
- Don't overmix the batter – a few lumps are okay!
- Use the toothpick test to check for doneness.
- Adjust baking time as needed – if it's browning too quickly, tent it with foil.
- Store leftovers tightly wrapped for up to 3 days, or freeze for longer storage.
Enjoy your baking, and don't forget to share your creations in the comments! Which recipe will you try first?